Creating a new project
Before you can start logging issues, you'll need projects to put those issues in. Here's how to quickly add projects to your account.
Note: You need to be an account administrator to manage projects.
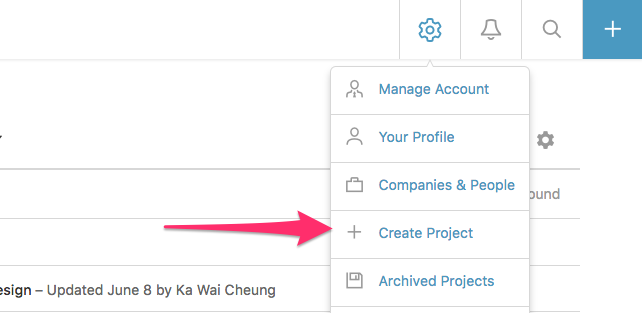
- 1
- Click the Global Settings icon, and then select Create Project.
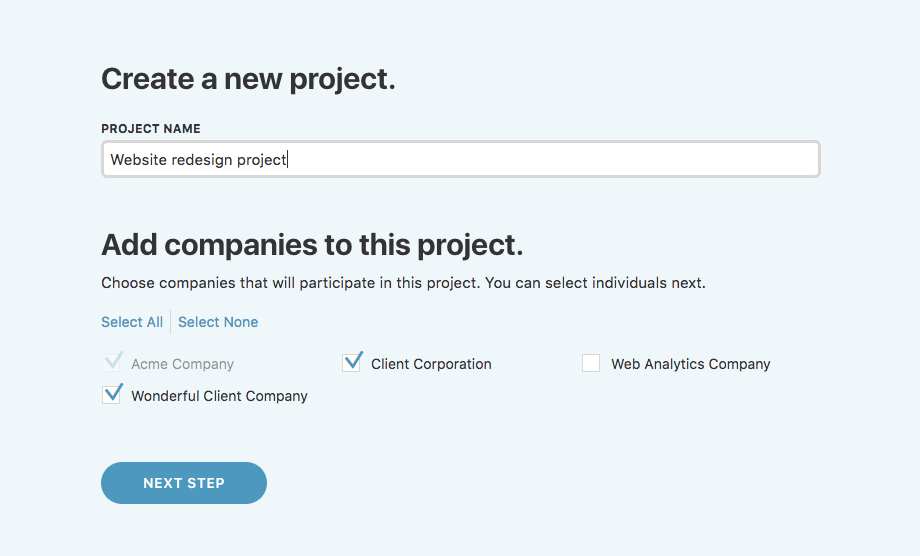
- 2
- Next, give the project a name and select the companies that will be involved in the project.
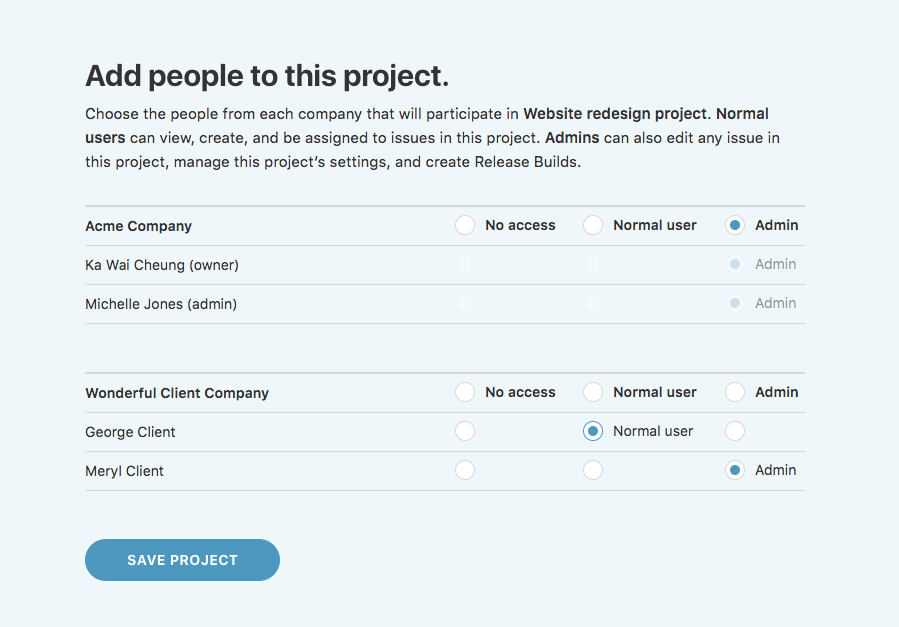
- 3
- Finally, select the people that will have access to the project, as well as their project role. Take a look at this article for more information on project roles.
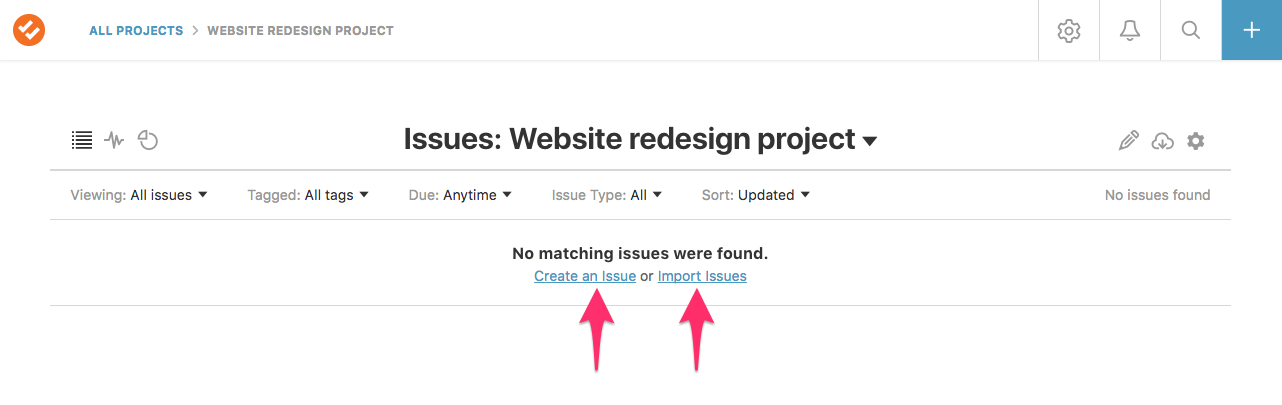
- 4
- Finally, click the Save Project button. You'll be redirected to the Project Dashboard where you can start adding new issues.